Advanced Graphics Controls |
  
|
Advanced Graphics Controls |
|
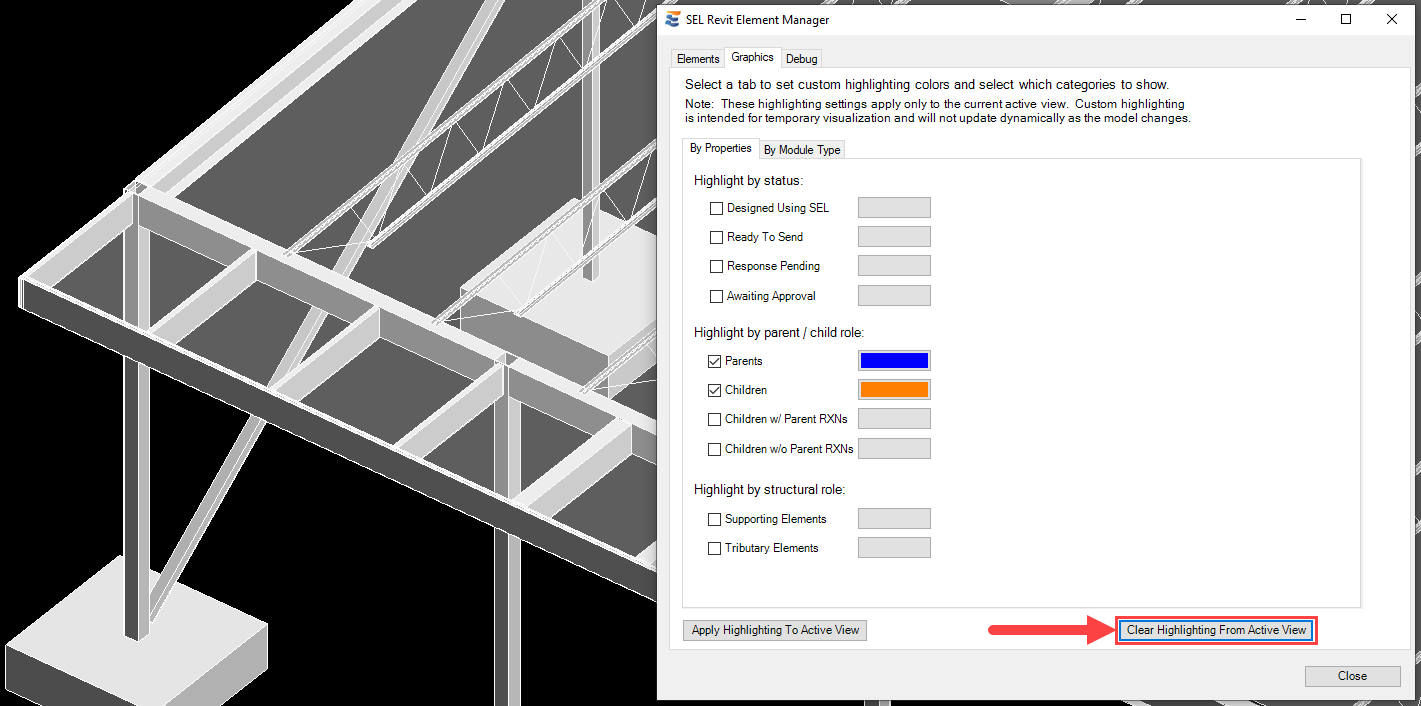
In some cases, users may want to apply additional visualization beyond the default design status highlighting tools found on the ribbon bar. For this purpose, additional highlighting controls are available on the “Graphics” tab of the Element Manager window. The controls are divided into two groups, allowing the user to apply custom highlighting either “By Properties” or “By Module Type”.
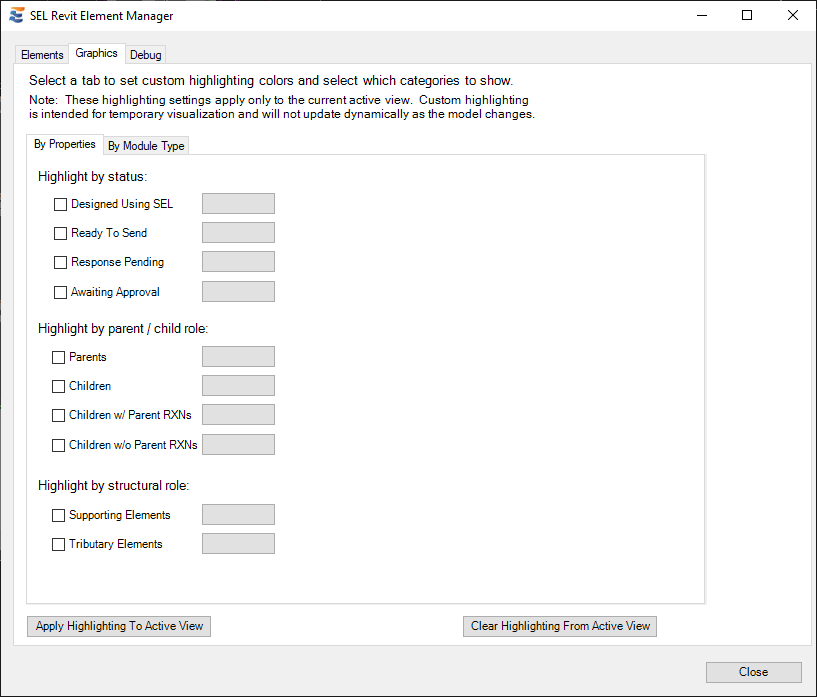
The checkboxes are used to control which highlighting is active, while the button next to each property option is used to set the custom color to display in the active view. Clicking the button shows a color palette for the user to choose from.
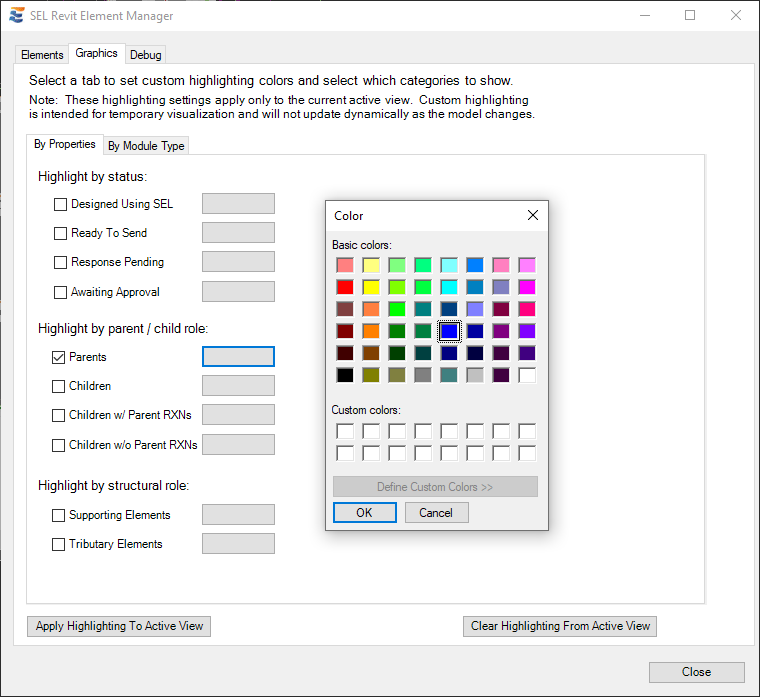
Choosing a color and clicking “OK” will update the button to show the selected color.
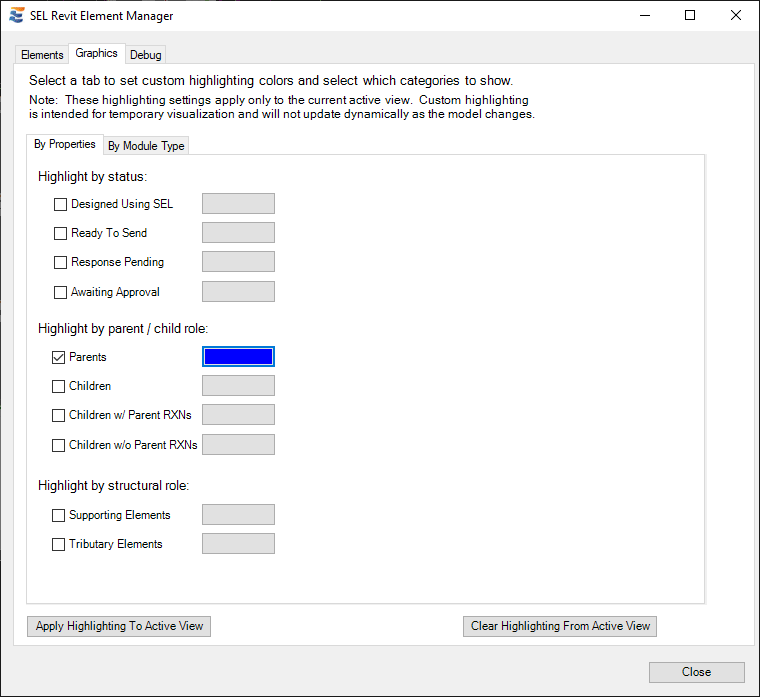
If the Revit model is saved after modifying these custom color selections, the colors will be automatically stored and will be available the next time the user accesses this menu. These custom colors are stored according to user identity and will not impact the colors used by other team members.
After selecting the desired properties and colors, the custom visualization may be applied using the “Apply Highlighting to Active View” button. This highlighting applies only to the current view. It will not be applied to any other view in the Revit model.
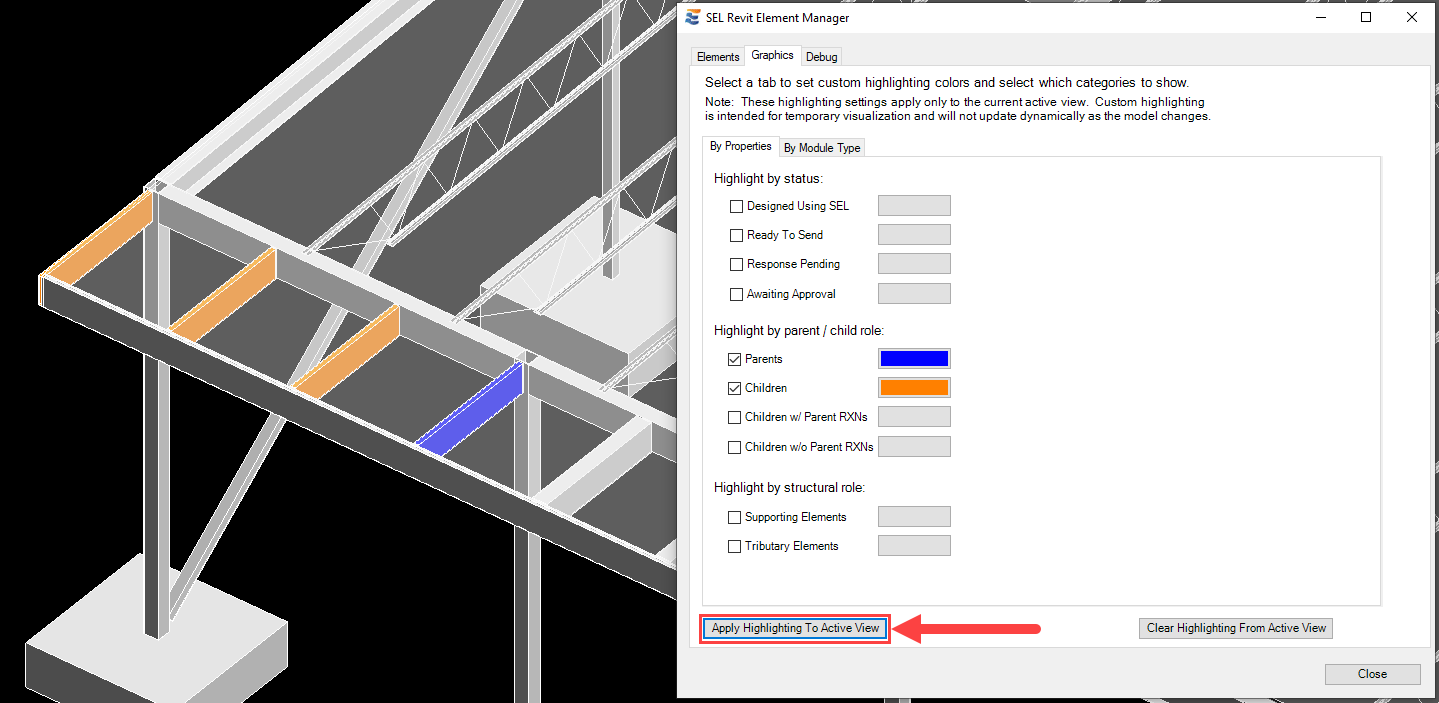
The custom highlighting may be removed using the “Clear Highlighting From Active View” button.
Custom graphics settings are unique to each individual user and will not affect the display settings for other team members within a given project.
 <
<