Scanned Document |
  
|
Scanned Document |
|
Last revised: Thursday, January 29, 2026 at 02:43 PM
ENERCALC SEL now offers you the ability to use your scanner to create items and insert them into your Project File. To scan an item and add it to your Project File, click on the Division where you would like to insert the scanned item, click the [Add] button, and then click [Scan a Document]:

When the module is loaded you will see the screen below:
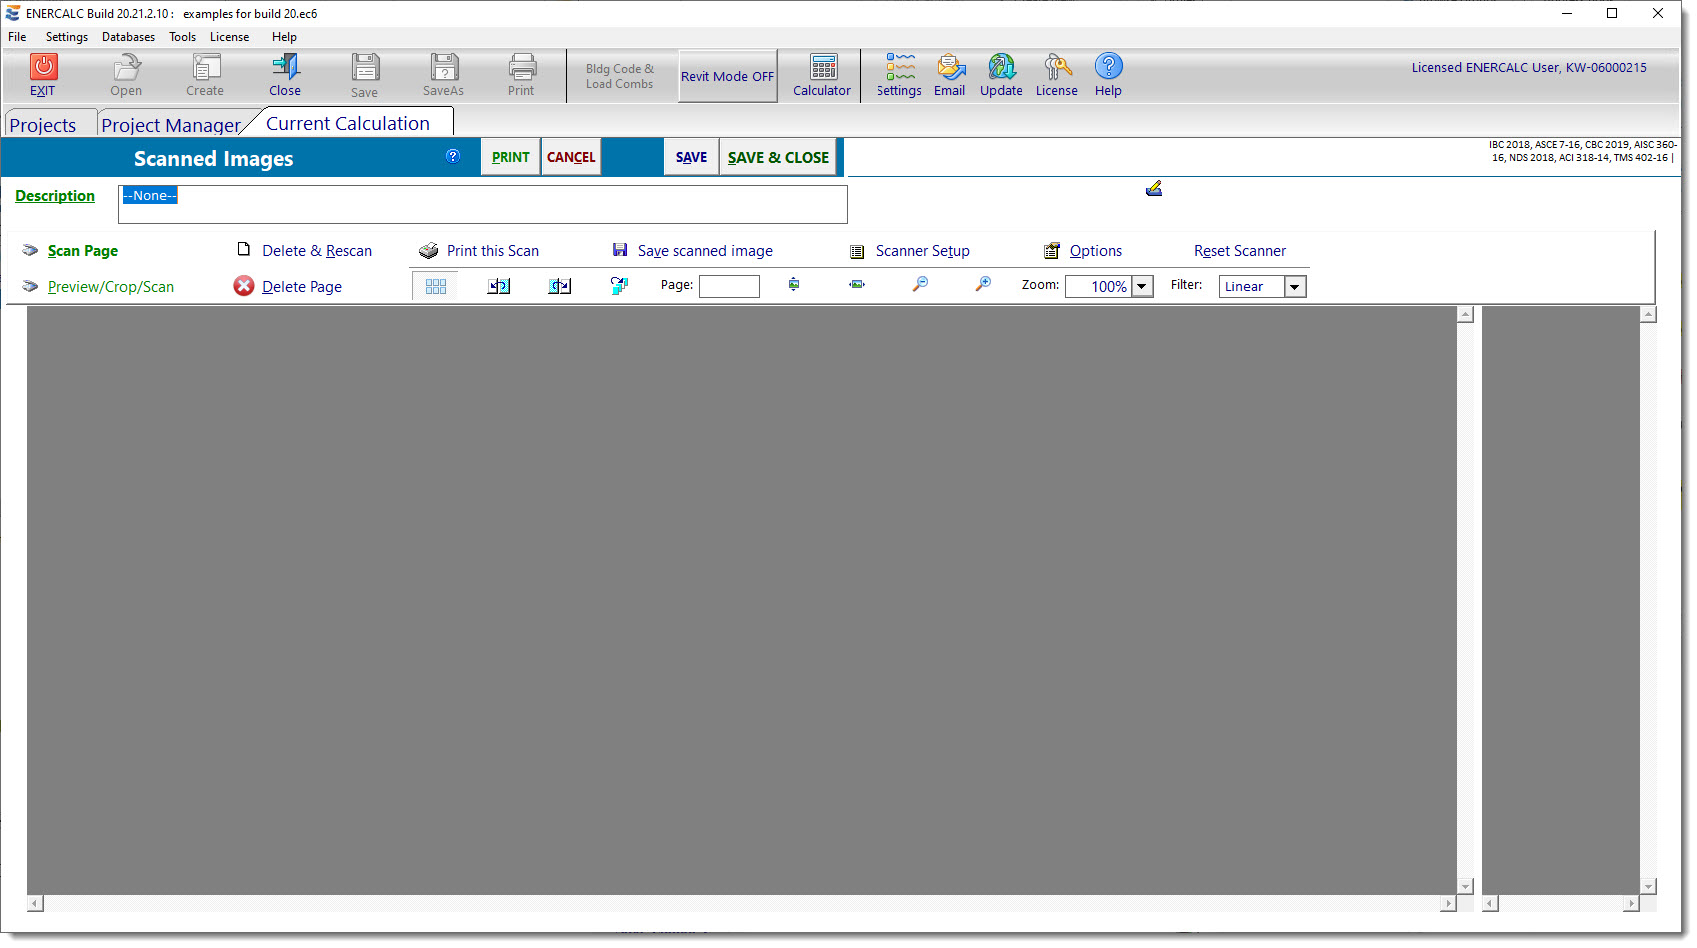
Here is a description of the various controls in this module:
Scan Page: Using all the settings on the "Scanner Setup" page, perform a high resolution scan.
Delete & Rescan: Delete the currently visible scan and rescan the image at a different resolution.
Print this Scan: Print the currently visible image to a printer.
Save scanned image: Save the current scan to a file.
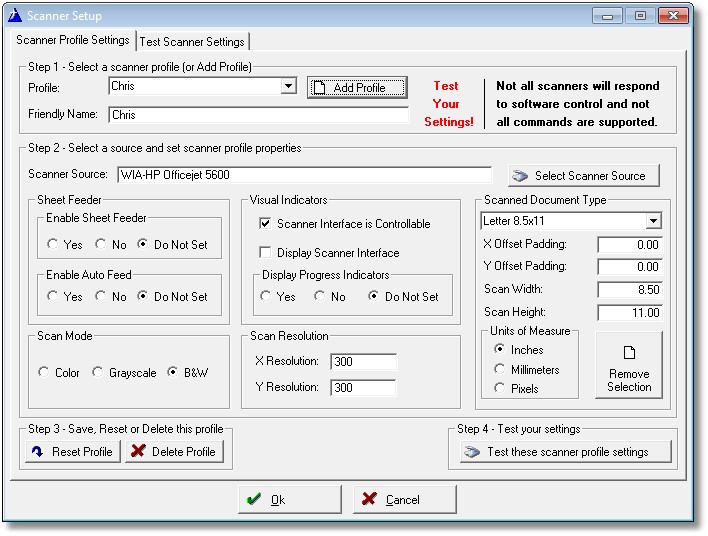
Scanner Setup: Access the scanner setup screen (see image below)
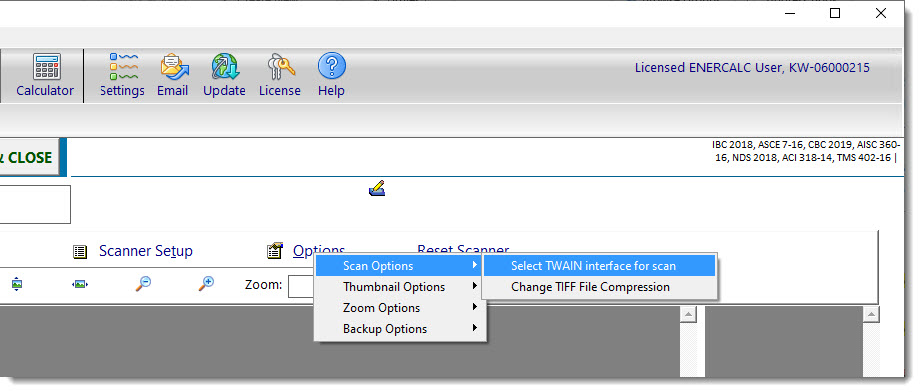
Options:
Reset Scanner: Send signals to the scanner to reset itself to its default state.
Preview/Crop/Scan: Perform a fast, low resolution "preview" scan and display it for your use in defining the final region that will be used for the high resolution scan.
Delete Page: Remove the current scan from this viewer.
Image Manipulation buttons: Allow you to change the way you view the scans in this document.
![]()
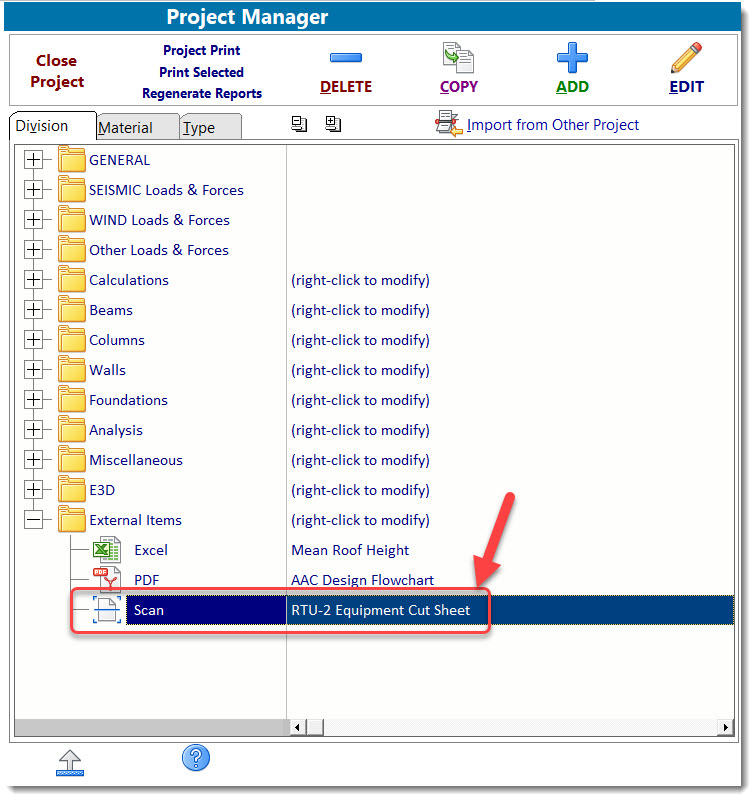
To create a scanned item, place the item on the scanner and click the [Scan Page] button. If desired, enter text in the Description field. Then, click the [Save & Close] button. The display will return to the Project Manager, and you will see an indication that the scanned item has been attached as shown in the image below:
 <
<